1. Install instructions
1.1. Install environment
This step only needs to be done initially by a web administrator setting up the application. It does not have to be repeated by all end users. EDB should be installed on a machine on which you can run a web server accessible to all your users.
All EDB development has been done on Unix machines, but installation should work on any machine that can run Shiny server.
The recommended machine configuration is
- OS: the EDB has been tested on Debian, Ubuntu 10.04, 12.04 and 14.04, but any machine that runs Shiny server should work.
- > 7 Gb RAM
- > 2 Gb disk; 2.0G is the size of all software dependencies and the demo dataset.
These instructions are for a machine running Ubuntu 14.04 (LTS). I have also successfully set up the app on Debian Wheezy LTS. Each package will prompt saying something along the lines of “This package with require XYZ space. Continue [Y/n]?”. Type “Y”.
1.2. Automatic install using docker
Docker is a hugely popular platform for deploying software in “containers”. EDB can be easily installed with a custom dockerfile in the EDB repo.
If you haven’t already done so, first install docker on your target machine. Then build at command line.
Note: The build itself takes ~15-20 minutes, as it is installing R, the shiny server, associated BioConductor and Shiny dependences. As part of this process, the dockerfile also downloads the demo dataset (~286Mb).
So take a break and do something else while it’s running.
git clone https://github.com/shraddhapai/shiny-data-browseR.git
cd shiny-data-browseR
docker build docker_edb
When the build is complete, you should be provided with an image identifier (e.g. af9ca39a5c48).
Now start a new container from the image:
docker run -p 3838:3838 -d af9ca39a5c48
At this point you should be able to open a web browser on your target machine to http://localhost:3838/EDB, or if you’re using boot2docker, to http://192.168.59.103:3838/EDB.
1.3. Manual install
1.3.1. Clone the EDB repo
Ignore the first line below if your machine already has git.
sudo apt-get install git
git clone https://github.com/shraddhapai/shiny-data-browseR.git
1.3.2. Install R (>=3.1.0)
sudo add-apt-repository ppa:marutter/rrutter
sudo apt-get update
sudo apt-get upgrade
sudo apt-get install r-base r-base-dev
The following will set text-encoding preferences so your R error/status messages don’t contain strange symbols. In ~/.profile add the following line
export LC_ALL=C
Then execute ~/.profile:
. ~/.profile
1.3.3. Install shiny server
First install the R shiny package:
sudo su - \
-c "R -e \"install.packages('shiny', repos='http://cran.rstudio.com/')\""
Now download and install shiny-server:
sudo apt-get install gdebi-core
wget http://download3.rstudio.org/ubuntu-12.04/x86_64/shiny-server-1.2.1.362-amd64.deb
sudo gdebi shiny-server-1.2.1.362-amd64.deb
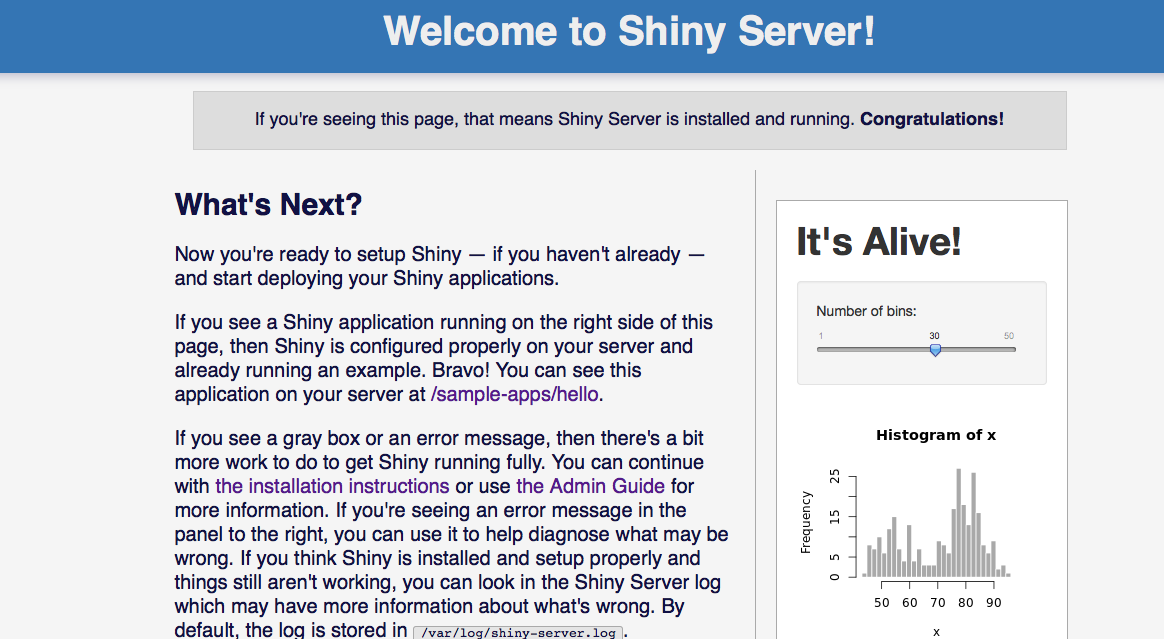
At this point, if you point your web browser to <myIpAddress>:3838, you should see a page like this. If you don’t see this, shiny server has not been correctly installed. Debug this issue first.
1.3.4. Install Unix dependencies for the R/BioConductor packages
sudo apt-get install libcurl4-openssl-dev libxml2-dev
1.3.5. Install R and BioConductor packages
Select your local mirror when prompted (e.g. 15 for Toronto)
R -e "install.packages(c('shinyBS','doMC','RColorBrewer', 'matrixStats'), repos='http://cran.rstudio.com/'); "
Install BioConductor and package dependencies for the modified BioC package, “Gviz”.
R -e "source('http://bioconductor.org/biocLite.R'); biocLite(c('Biobase','GenomicRanges','rtracklayer','GenomicFeatures','biovizBase','Rsamtools'));"
1.3.6. Install development version of Gviz
Exit R and insert the following at command line:
    wget http://www.bioconductor.org/packages/devel/bioc/src/contrib/Gviz_1.11.2.tar.gz
R -e "install.packages('Gviz_1.11.2.tar.gz')"
1.3.7. Configure EDB
That’s it! Installation is done. Now we configure the server.
cd /srv/shiny-server
mkdir EDB
sudo cp ~/shiny-data-browseR/*.R .
sudo cp -r ~/shiny-data-browseR/www .
sudo cp -r ~/shiny-data-browseR/data_types .
sudo touch restart.txt
Now create a file named “config_location.txt” with the path to all your data configuration files. Save it. There should be no spaces before or after the path.
/path/to/config/file/here
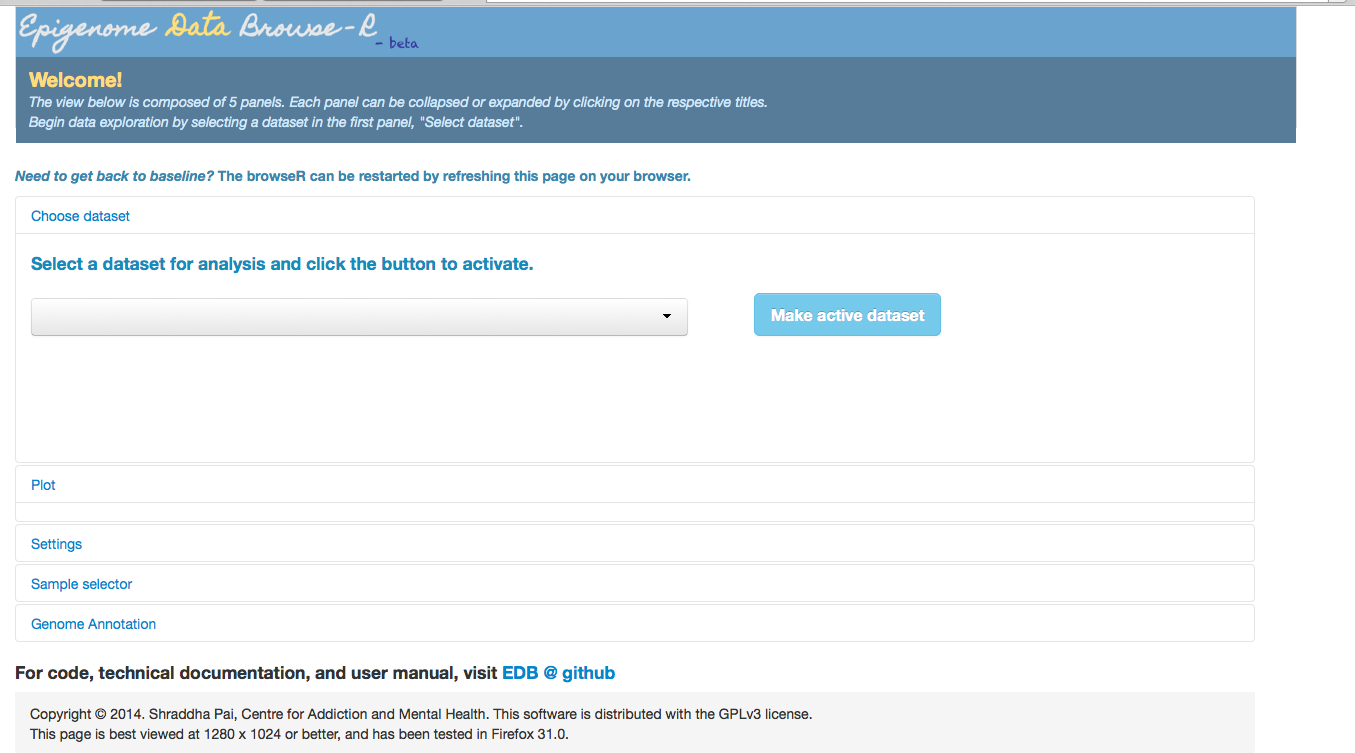
At this point, you should be able to see the EDB interface in your web browser. In the image below, config_location.txt points to a dummy directory with no config files. Therefore the dropdown box for “Select a dataset” is empty.
Great! Now let’s proceed to adding our custom datasets.